Review: Japan Camera Hunter Street Pan 400 Film (Premium)
Before I begin this review of Japan Camera Hunter Street Pan 400 film, you should note that this is an addendum to . That initial review is free for everyone, but this one goes more in-depth and explores my relationship with the film over a period of nearly half a year. I’ve known about the film for a while now and Bellamy has been in constant contact with me about my results. The first time around that I had the development done, the scans weren’t so perfect. Bellamy recommends using Rodinal in its development process.
For that reason, this review is available only to subscribers of this website and can be had for as little as $15/year.
Now onto the review!
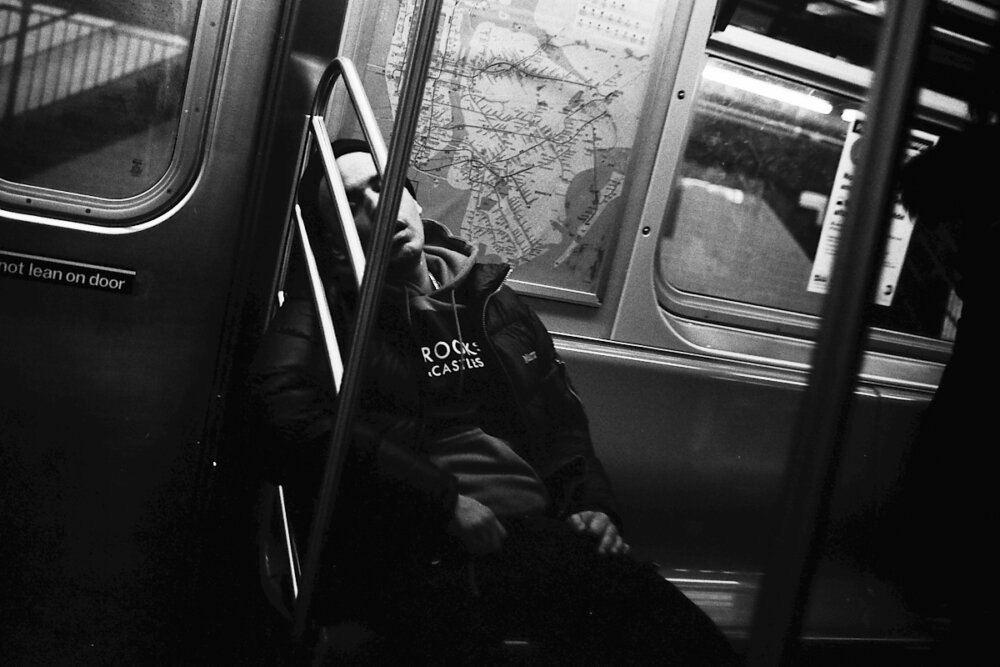
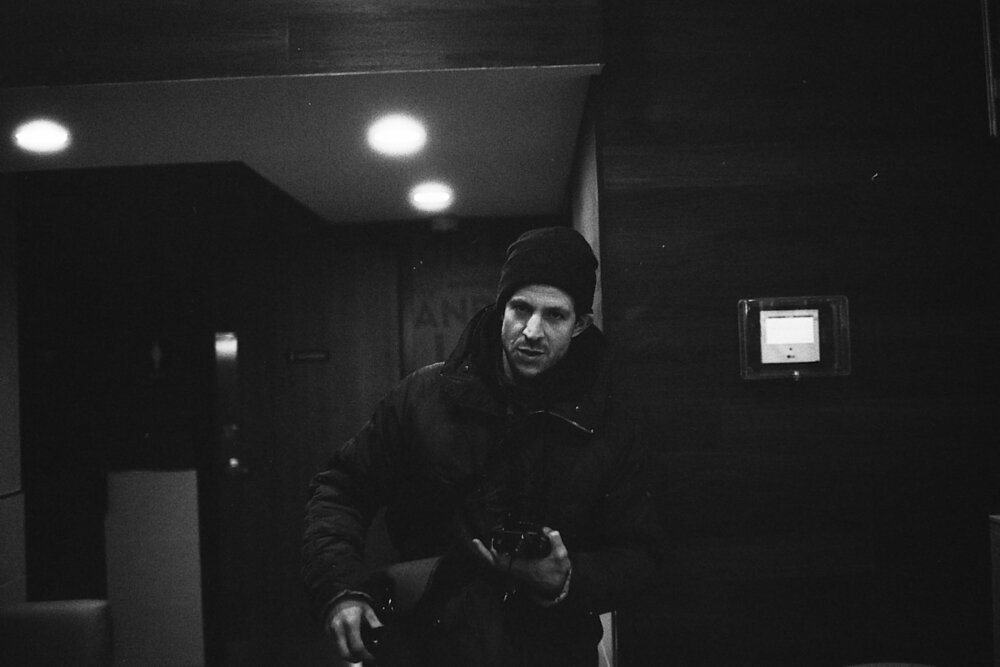
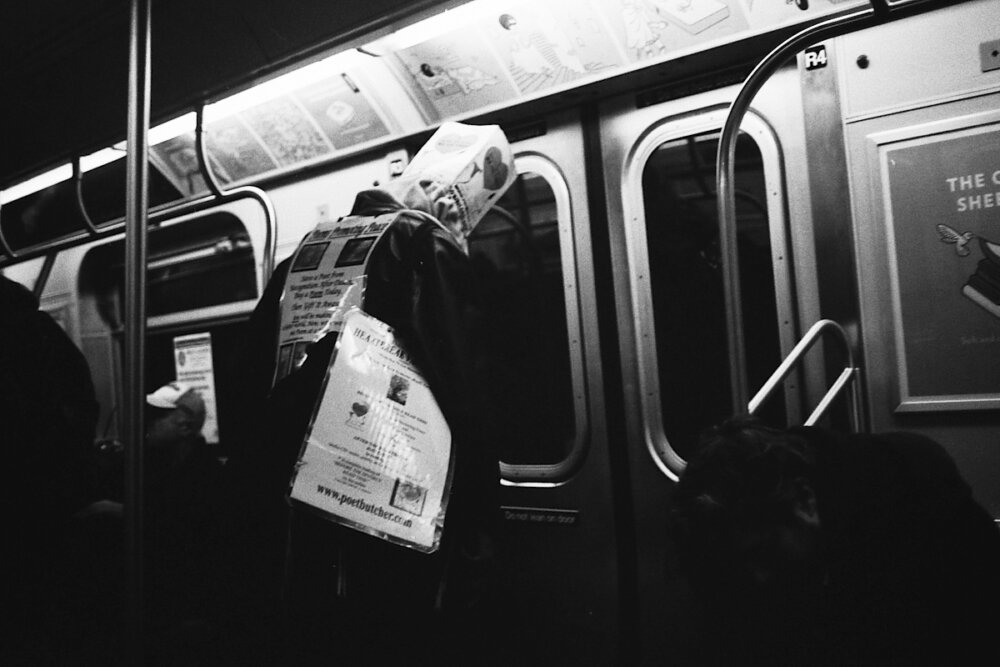
Japan Camera Hunter Street Pan 400 film is an exciting entry into the film photography world. It’s designed for street photography and is also designed to be nice and sharp. For the most part, it really is a sharp film. All of my testing has been with the Hexar AF–perhaps one of my favorite 35mm cameras of all time and perfect for capturing candid moments. So if you’re a street photographer looking to work with something different, then this is probably the film to get.
Street photographers will thoroughly enjoy this film in many situations though if you’re going to work with it, I recommend either:
- Shooting it then pushing and pulling prints in the darkroom
- Shooting it in manual mode and exposing your scene accordingly to the Sunny 16 laws of photography.
The big reason for this has to do with scanning. Higher end scanners can basically do what cameras did years ago to create an HDR photo: shoot a perfectly exposed photo, +1, -1, -2, +2 etc. Then it combines the image into a giant TIFF file for you to work with on a computer. but then in that case, you may as well be shooting digital in my personal opinion especially since these scanners use a small sensor typically.
But if you’re shooting Sunny 16 style, then you’re going to work to get it right in the camera in the first place which will result in scans that need little to no work at all.
This goes hand in hand with a few issues that I encountered with the film and using it. I shot a few rolls rated at ISO 400 like the film says. Then I shot one at ISO 800, one at ISO 1600, and one at ISO 200. If you know anything about films like Kodak Tri-X and T-Max, then you know that you can push it and pull it for forever because the film emulsion is just so incredibly forgiving when you work with it. In fact, many photographers that shoot black and white film tend to connote that with all black and white film to begin with. And they’re not wrong–but the best results still come in the darkroom with a solid print involving dodging and burning to get the results that you want.
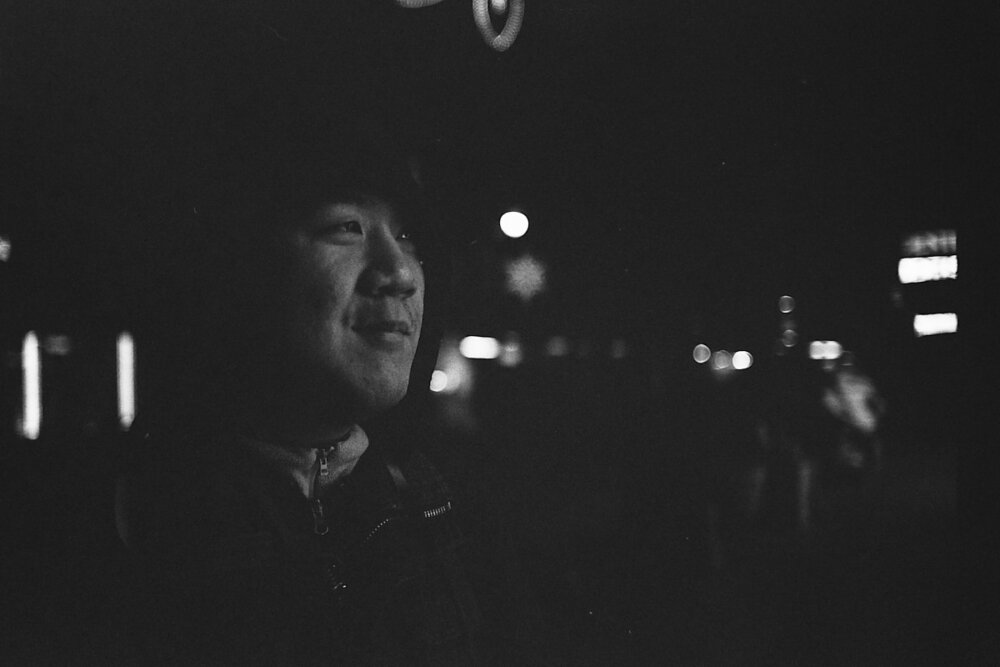
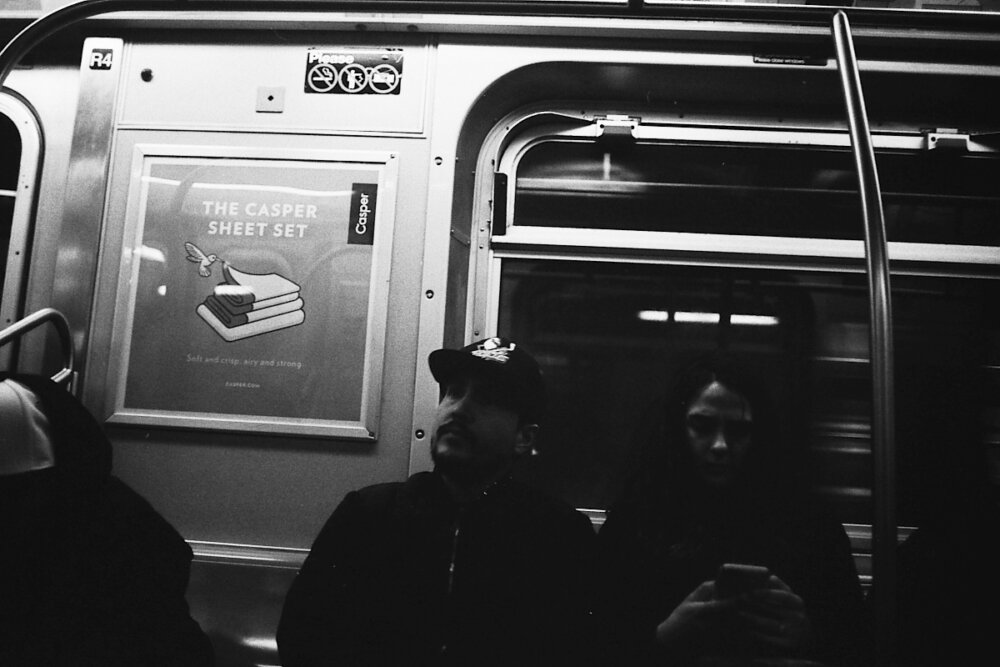
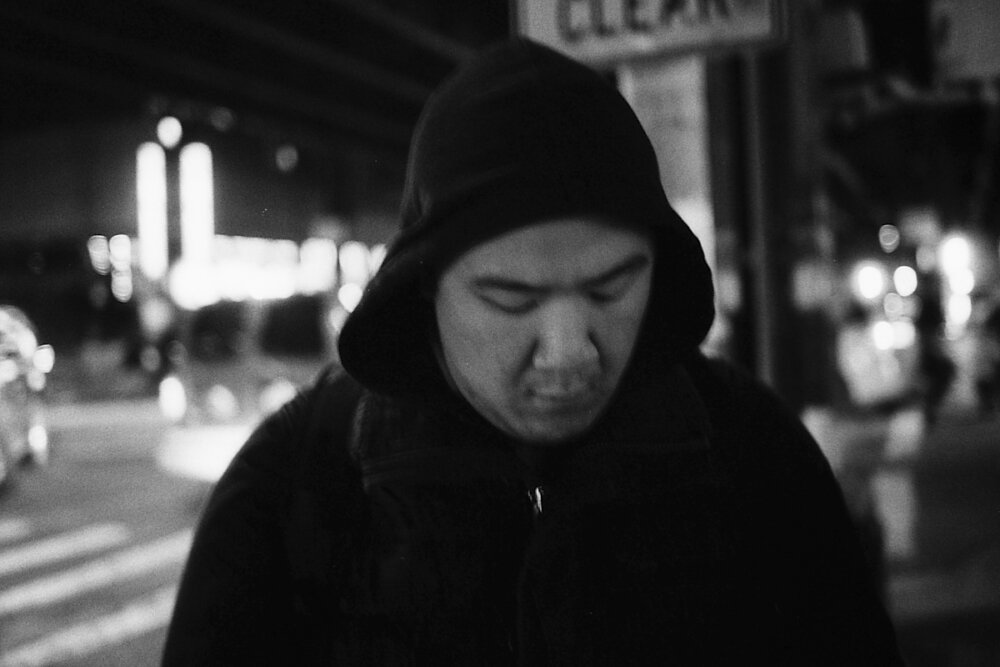
In my tests, I’ve found that this film likes light–lots of it. In fact, if and when I reload it into my camera again I’m not going to rate it at ISO 400. I’m going to rate it at ISO 200 and perhaps develop for ISO 320. Part of this could be due to the fact that the Hexar AF’s metering system tends to take the highlights in mind knowing that you’ll be able to push the shadows.
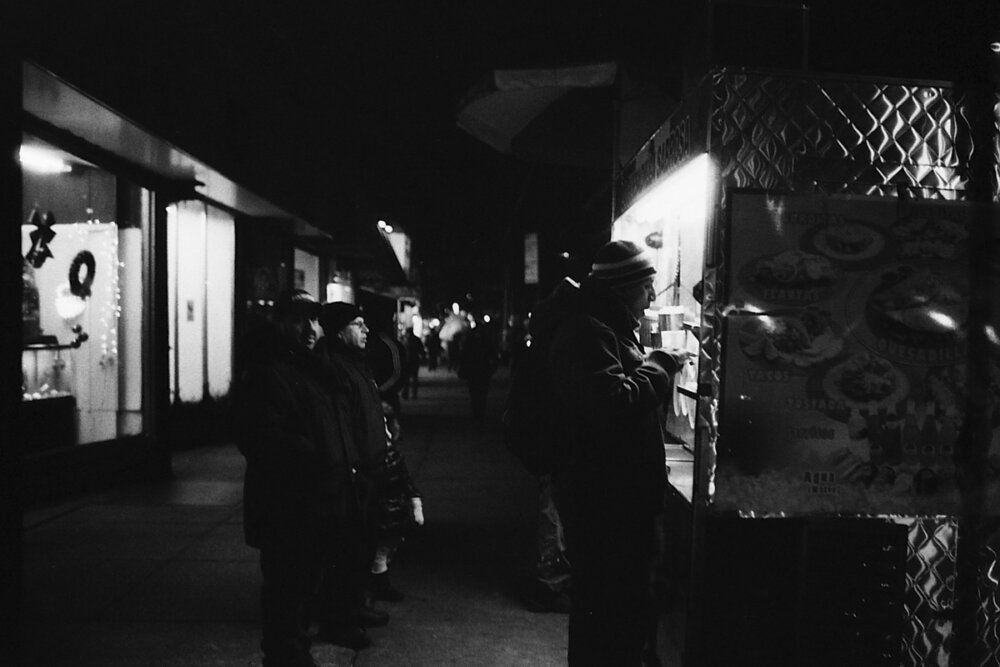
As any street photographer knows though, lighting situations can change at a moment’s notice. So you can be shooting at ISO 200, 1/250th and f16 one second then when you walk into the shadow of a building you’ll need to greatly open up that aperture to probably around f4 or f2.8 depending on a number of variables in your scene and when trying to expose for your subject. This is honestly the best way that I’ve found one should use the film.

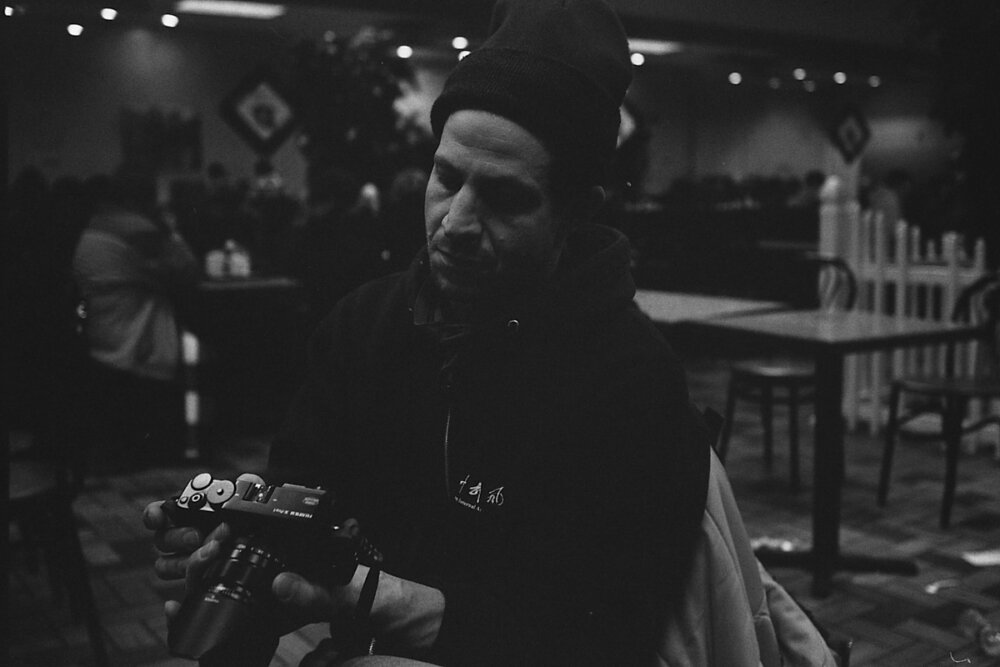
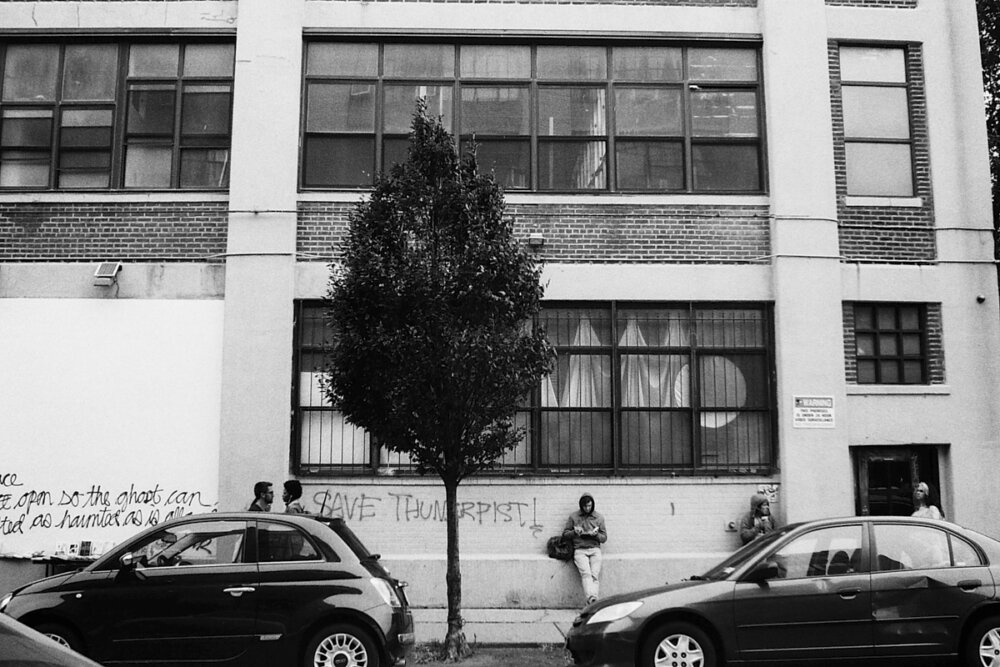
In all truthfulness, I don’t see this film as competition to Kodak Tri-X, Kodak T-Max, Fujifilm Acros, Fomapan 320, Delta 400, HP5, APX 400, etc. Instead, I see it as a film that can deliver a different look from all of them. Even down to the grain structure, this film looks different. Kodak Tri-X and HP5 tend to have the most pleasing film grain in my opinion but this film here embraces an even more raw and gritty look that a lot of street photographers tend to value. They find it romantic in a way.
There are other variables involved such as who is developing your film. It’s fairly common knowledge that labs tend to put their own subtle twist on how to develop film so that they can keep customers and find a way to stand out from all the rest of the film labs out there. Here in NYC I’ve used Lomography, Color Resource Center, Walgreens and Kubu’s Film Lab most notably and for black and white I tend to want to go to Kubu’s in Greenpoint, Brooklyn. But for Color, I tend to go to Lomography.
When you find a lab that you like, I recommend sticking with it.
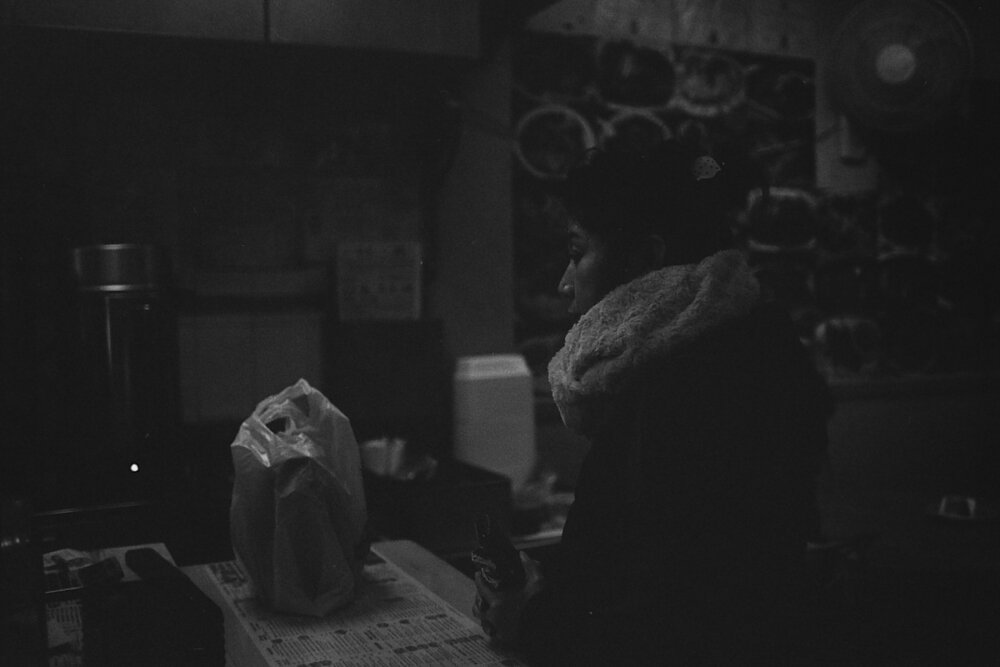
Overall though, Japan Camera Hunter Street Pan 400 is a very nice film emulsion. Street photographers are surely going to love it if they enjoy the deep black and white look. For me personally though, I want even more contrast that I believe only chromogenic film can give me. Inky blacks are what I love and they also force me to get my exposures spot on–and that whole thought process is part of what makes shooting film a million times more enjoyable.
If you’re going to use the film, I strongly recommend rating it at ISO 200 and developing for ISO 320–which is a common method used when working with Kodak Portra 400. This film likes a lot of light. So with that said, I really don’t recommend using it for something like concert photography. However, street photography, landscape photography, portraiture, etc are more adequate because the lighting situations are much more predictable and the film is less forgiving than others out there. Ilford Delta 3200 may be what you’re looking for instead when shooting concerts.
Very personally speaking, I’d personally probably reach for this film when shooting street photography though I’m sure that I’d be happier with something like Ilford HP5.
Those are just my findings though.