The Secret to Getting Better Black and White Photos From Your Smartphone (Free Tutorial)
The Absolute Basics

Sepia

Greyscale

Black and White
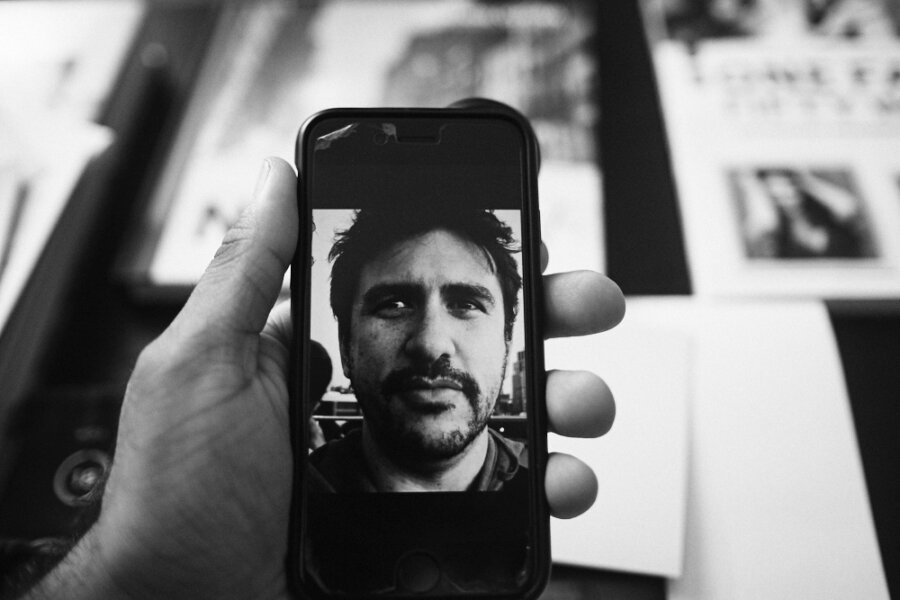
First off, you should know and understand the difference between black and white, grayscale and sepia. They’re not all the same and it just means that you need to be discerning and well, actually, look at the photo. Sepia is very specific, it isn’t black and white. Greyscale is when everything looks gray. Black and white is quite literally just black and white. There is nothing in between. There are various shades of black and various shades of white. Sometimes it may look like there are similarities but there really isn’t. With black and white, there is an absence of color and that is instead replaced by tonality. With grayscale, there is color that has been desaturated. With sepia, there is color toning.
We’re talking about black and white here.
What I tell everyone that wants to shoot better photos is that they need to look for an understand good lighting, but you don’t need to be the absolute best photographer to understand and look at lighting. Let’s play out a scenario: you’re in a restaurant at night and it’s incredibly dark. So what does a server do? They light candles at each table. Now, if there were only one candle lit then no one would be able to see anything. However, if there was a big campfire type of situation in the middle of the room, then things would be easier to see. Additionally, if there are candles at each table, then it suddenly becomes easier to see the room, right?
Wrap your head around that and reread that paragraph before proceeding please.
Now let’s put that down to the small scale world of whatever is in the frame of your smartphone’s camera.
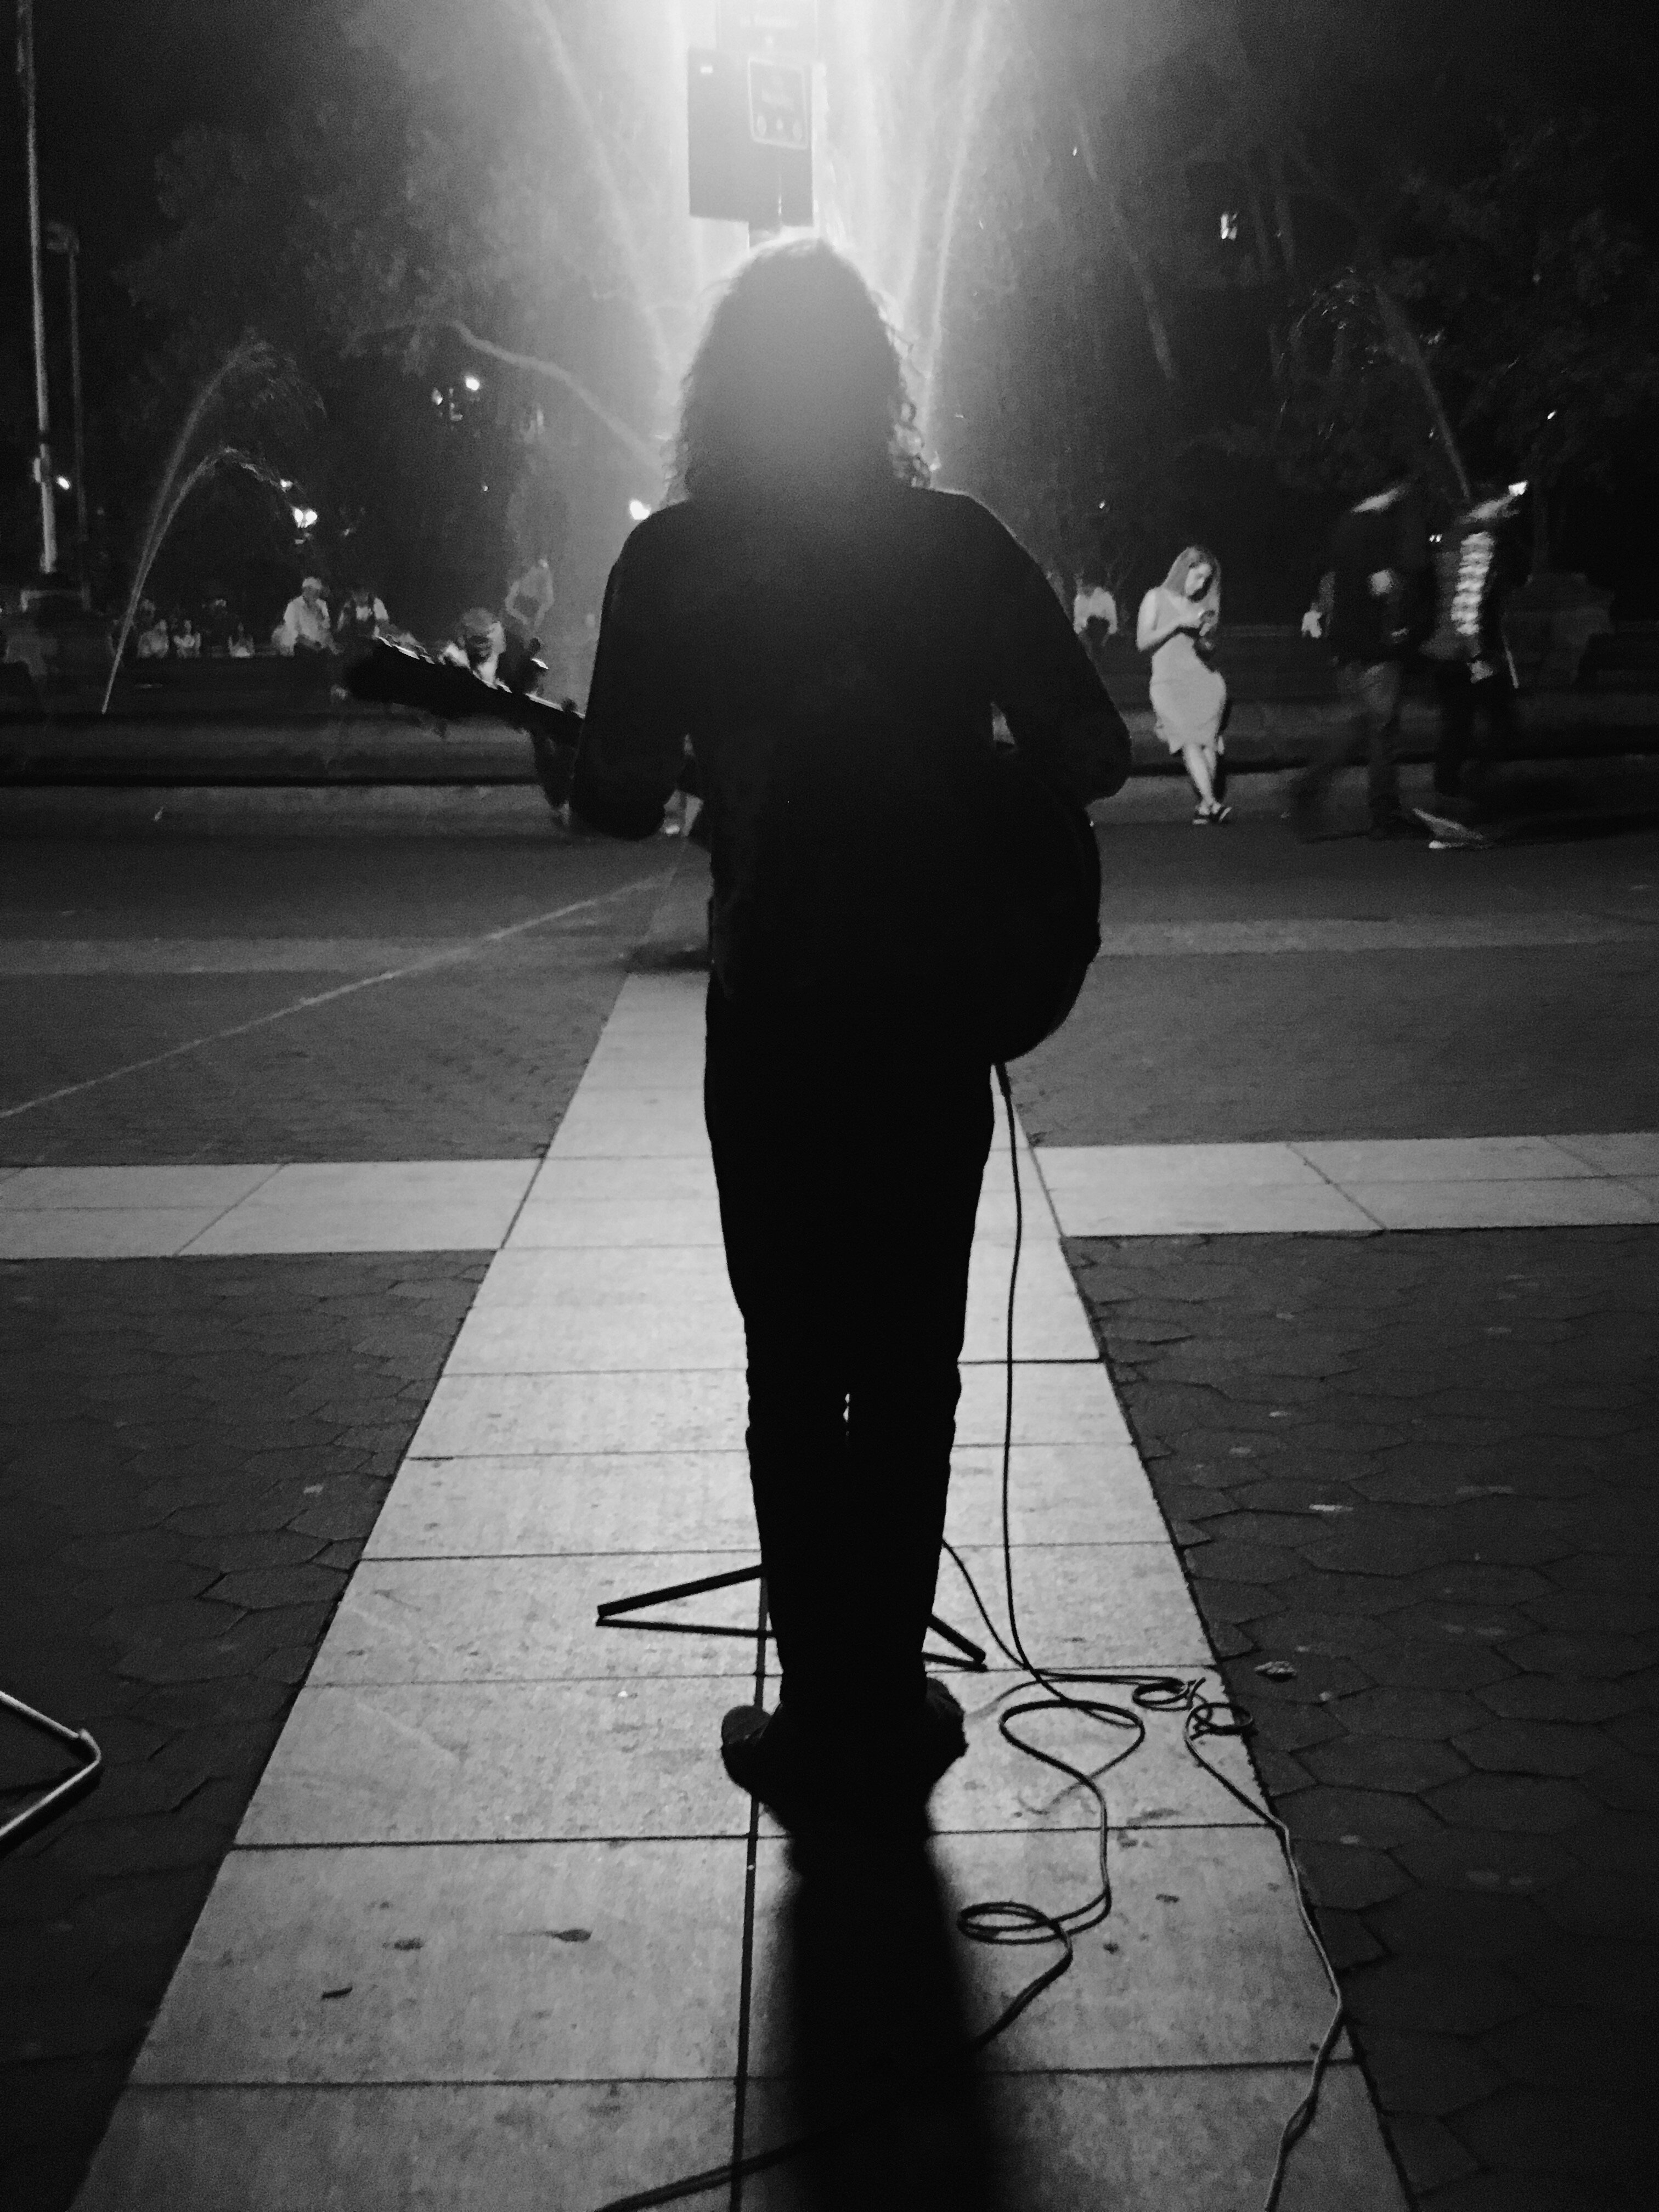
The reason why this image works so well is because it is a silhouette and it is lit in just the right way to create that mystique. If the subject weren’t backlit like that, it would have lost its magic potentially. But when you combine the lighting with the framing, it works.

In the image above, it works specifically because of how the lighting is hitting the building and creating shadows. Part of it is due to perspective. If I had moved over, then I wouldn’t have gotten that dramatic effect.
Never Use the Flash
So here’s something that you may never have heard, don’t ever use the flash on your smartphone. Why? Well, it’s not a real flash and it’s honestly pretty ugly. In fact, it’s very unflattering. And with that in mind, I’d like to make it synonymous to the sun. Most folks don’t notice this but try to take a look the next time your neck of the woods had clouds. When the sun is shining, you have very strong shadows. But if clouds come in front of the sun, those shadows become less and less. Why? Because it’s doing what’s called making the light softer. To make light softer, you need a larger light source in relation to your subject.
So what do you do instead? Well, let’s say you’re taking a photo of your coffee and your friends are around. Ask your friends to bring up a blank, white screen using their smartphone’s browser. Then ask them to use the screen to bathe the cup of coffee in light. Then you’ll have what’s essentially a large lightsource. You’re bound to get a significantly more gorgeous photo.
Capturing vs Creating
Think about your habits, do you capture more photos or do you create them? Let’s delve into that. When you capture an image, you simply take a photo. There can be shutter speed and aperture manipulation but you’re not really interacting with the scene itself. When you create a photo, you probably do something to the scene that wouldn’t have necessarily been there otherwise when you think about the content of the photo. When you pose your kid or friend for a portrait, you’re interacting with the scene in a way that affects something wouldn’t have happened naturally. To that end, you create the scene.
Creating more scenes and interacting with the scene helps put your own special stamp on the image. It’s truly yours.
Using All the Tools Available
Good black and white smartphone photography isn’t done in-camera necessarily. Instead, the magic of black and white smartphone photography comes out in post production. Apps like SnapSeed and RNI Films do a great job of creating better black and white images. So with that said, you ABSOLUTELY SHOULD EDIT your photos. #NoFilter works best with dedicated cameras. But it honestly doesn’t matter as much as actually creating an effective, gorgeous image.