Building and Using a Portable Photo Studio for Under $750
Every semi-professional photographer dreams of trying to create their own photo studio. What many photographers don’t realize is that with some very thrifty items, you can get the same results as significantly more expensive products as long as you’ve just got the knowledge of how to use them. There are a number of tutorials online that teach photographers how to build a portable photo studio, but not a whole lot that teach you how to use it and how to build one for a pretty affordable price point. Even less tell you what to do with the gear once you’ve got it.
We’re going to get you started from the ground up.
So many people dislike themselves so thoroughly that they never see any reproduction of themselves that suits. None of us is born with the right face. It’s a tough job being a portrait photographer. – Imogen Cunningham
Your Photographic Identity in Studio Portraiture: Answer These Questions
When you’re first starting out creating your own portable photo studio, it’s easy for you to just set it up and take photos. But you should ideally look more long term than that. If you want to do studio portraiture, then there’s obviously a reason for that and part of this has to do with connecting the technical with the artistic side of your brain. They’ll need to communicate with one another. So let’s start out by answering these questions:
- Who are you as a photographer?
- What studio portrait photographers do you admire?
- Do they actually shoot in a studio or on location?
- Do they bring studio gear onto a location to shoot?
- What about their creative style and look do you admire?
- What do these photographers use to get the looks that they do?
- What do the photographers do with the models and subjects to get their looks?
- Do you feasibly have the time to do this type of work?
- Where will you mostly be shooting?
- What methods do these photographers use to get the style that they do?
- Why do you want to be a studio portrait photographer?
- What do you feel you’re going to do for a client or subject that is different?
- What do you feel you’re going to do that’s different in the art world?
Now as you’re answering these questions, carefully listen to yourself and be honest. Then think about what the needs are for the type of photographer you’re trying to be. This is part of your photographic identity. You’ll easily start to figure out whether you should be a natural light shooter, a flash shooter, a location shooter, a stagnant background shooter, etc.
The Gear
So now we get to the gear. This gear is really simple to work with and so incredibly versatile that you can go from working with it in a household one second or an on-location area for the next.
: The reason why we adore the Godox Li-On series of flashes and transmitters are because they’re affordable, fairly durable, powerful and simple to use. If a piece breaks, you can easily replace the unit. These flashes come with TTL capabilities for Sony, Canon and Nikon. But my personal favorite is the all manual version. These lights have a very fast flash duration, so they’re very capable of overpowering a lot of ambient light in most situations. Plus, they’re portable; and as the main piece of equipment that you’re going to need they’ll be a mainstay for you.
I also sometimes use this flash with .
Pro Tip: Use the wide angle diffuser to spread the light over a larger area. The larger the light source is, the softer it can be.
: Roundflash is the manufacturer of a number of fantastic light modifiers. Their first is the roundflash itself which takes existing light from a flash and makes it work like a ring flash. The second and ultimately more versatile option is the dish. This is a collapsible beauty dish that outputs some very beautiful light. But it’s small and so is perhaps mostly ideal for photos shot from a person’s upper thigh and above.
Its small size means that it’s portable.
Pro Tip: Beauty dishes are sort of like softboxes but deliver an arguably better look.
This kit is sturdy enough for most uses and transportation–plus it’s affordable. It includes stands and rods that you put together simply by screwing them in at the right spots. You get a ton of them too.
: White and black backdrops are really all you need most of the time. But if you need something with more punch, then you’re sometimes best off making your own unless you go for Oliphant.
There is no single form or style of portraiture. Portraiture means individualism and as such means diversity, self-expression, private point of view. The most successful images seem to be those which exist on several planes at once and which reflect the fantasy and understanding of many. – Peter Bunnell
: This stand works well enough to hold your flash with the collapsible beauty dish on it. But it can also be used to hold a reflector. With the reflector in the transparent configuration, you can fire the flash through it to give off the same look that a softbox does.
Making the Most of Your Photo Studio
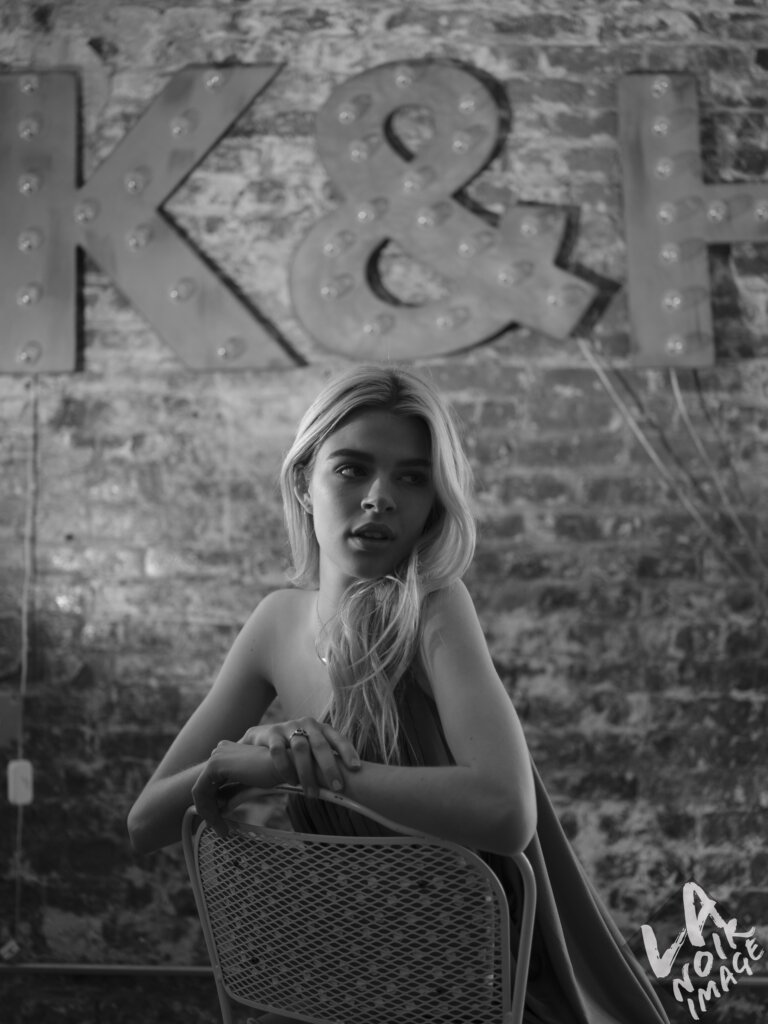
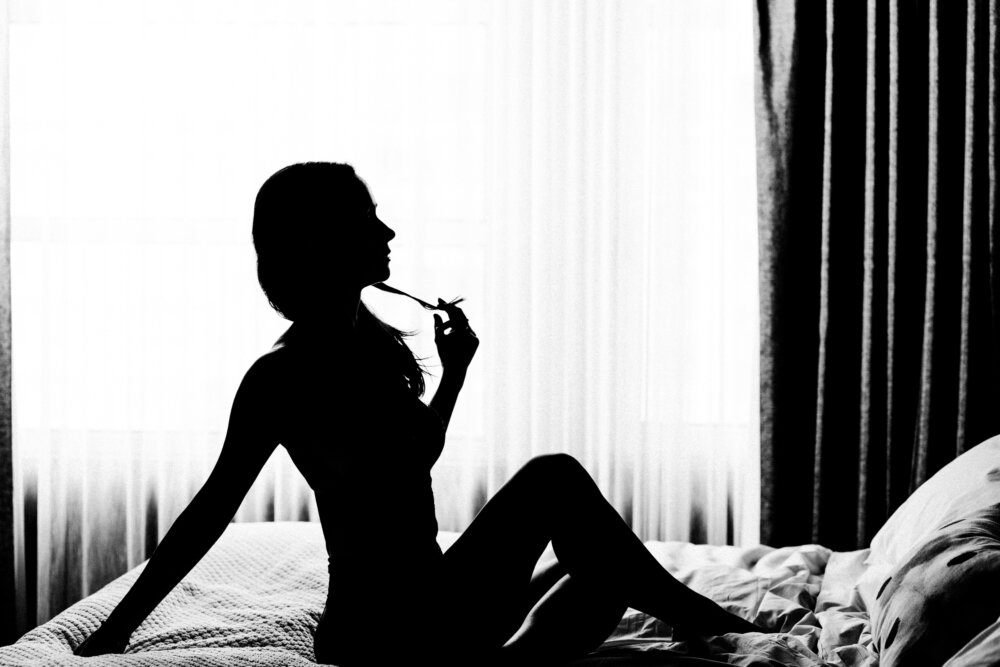
So now that you’ve got all this gear, what do you do with it? Well, here are some ideas. All of the photos in this article were done with the gear we’ve been talking about:
- Use the Godox flash placed off on some sort of higher surface and have it fire down onto your subject. Most lights that we see are naturally above us and human beings. So light sources that come from the side and above are simply more pleasing to us.
- The Godox flash can deliver pretty soft and nice lighting when used bare with its wide angle diffuser. You can bounce the light off of a surface but keep in mind that the flash output is going to take on the color of that wall or surface.
- The Roundflash Dish collapses down in the same way that a photographic reflector does. Then you can simply store it in a pocket of your camera bag.
- The Roundflash dish is best used arguably with tighter frames. But if you’re a fan of hard lighting, then try that. Hard lighting typically works best with thinner body profiles though but that doesn’t mean that it can’t work with larger ones.
- Are your backdrops all crumply? If you don’t have the time to steam the wrinkles out then consider just not stretching them out on the stand. Instead, make them tighter and sort of like a stage curtain. That will help hide the wrinkles.
- Killing all the ambient light that you can is a priority most of the time when using backdrops. Personally, I try to do the same thing even without them.
- Never, ever, underestimate what a reflector can do. You essentially have three light modifiers with this kit: the wide angle diffuser, the Beauty dish and the reflector. The reflector can either bounce light back into the subject, be used as a panel to bounce the light directly off of, or be used in a shoot through configuration where the light is diffused with the massive surface area of the reflector.