
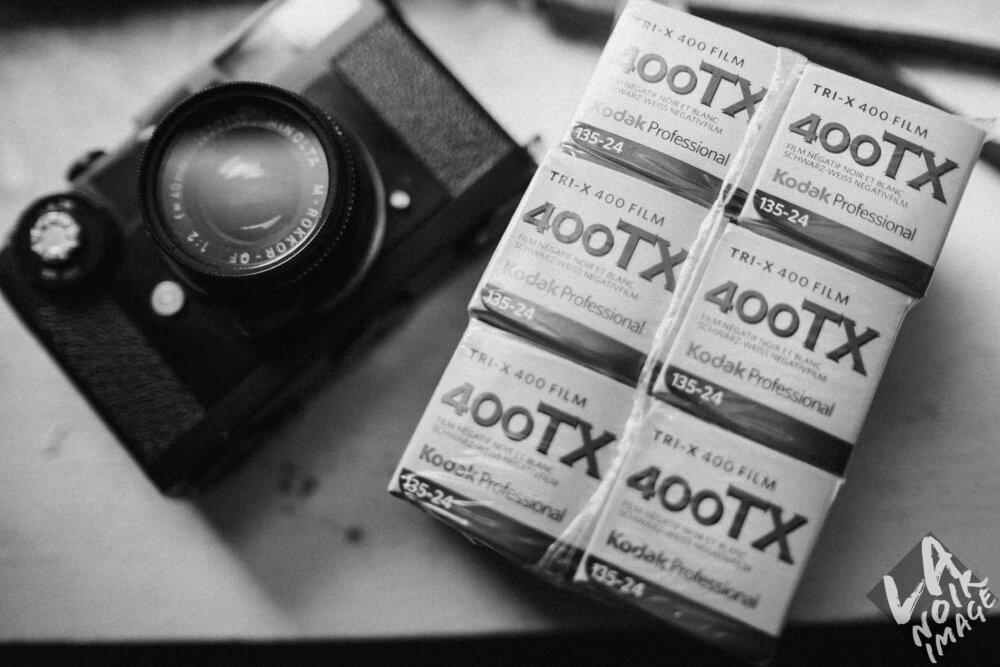
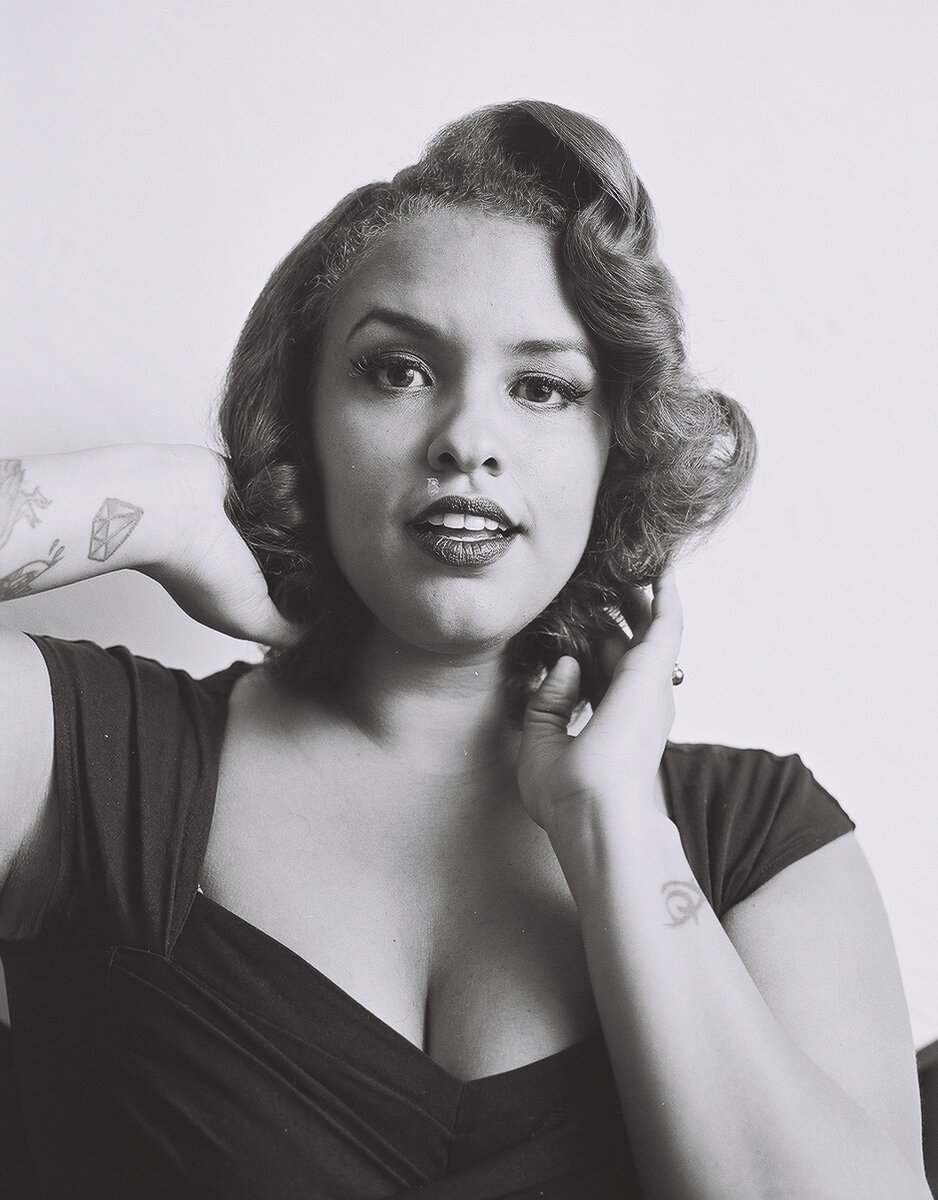
Tutorial: Working with Kodak Tri-X in the Studio (Premium)
by
With the influx of new film photographers that have come into the photo world, there is now even more experimentation with film emulsions like Kodak Tri-X 400. One of the things that you, yes you, are bound to do at one point or another is work with the film in a studio environment with artificial lighting. Don’t worry though, Kodak Tri-X 400 is one of the most forgiving films ever made. So there’s quite a bit that you can do to work with it and get fantastic results in a studio setting.
35mm or 120?
Let’s start with some of the most basic details that everyone is bound to ask: should you go with 120 or 35mm film? That’s a bit complicated to assess but let me start this out with this statement: light, is light, is light. F4 at ISO 400 and 1/125th will render the same scene in the same way every time pretty much. The only differences are depth of field for the most part when it comes to film emulsions. 35mm Kodak Tri-X 400 film will be grainier than 120 and have a deeper depth of field accordingly when working with it. But if you’re looking to have a different look to your photos, I strongly recommend using 120.
You see, part of this has to do with working with medium format. It’s like working with various digital photography formats. A four thirds sensor, for example will render f2 as the equivalent of f4 in full frame 35mm. With 120, it varies greatly on your formats. But if you’re working in a studio, it’s typically also a great idea to set your camera down on a tripod and work with it that way.
For what it’s worth too, 120 simply looks better because there is more emulsion on the surface layer. The more of it there is, the better the gradation and the tones will be.
Why Not Just Shoot Digital?
While you can probably make some very good arguments for not wanting to use color films vs digital, black and white is much different. Lots of photographers who shoot digital really enjoy taking their images into Lightroom and putting a VSCO or RNI films preset on it and enjoying the look. The problem is though that those images tend to be more of a look that you want vs what actual film does.
by
The reason why you work with film in the first place has to do with the process. I’m not talking about only what happens in the darkroom, but also what happens in post-production. Digital post-production is far faster and easier than it is to work in a darkroom. But the processes won’t give you the same results. Digital photography has a very “fix it in post” sort of mentality vs film’s being more “get it right in the camera.”
When you shoot some film, scan it, and then try to push the files or pull them, you’re essentially just pushing or pulling a JPEG or TIFF digital image. That can often not be so great unless you’ve got a higher end scanner of some sort. Higher end scanners and processes tend to create an HDR style photo to allow you the most versatility when it comes to editing. The best either do fantastic TIFF photos or DNG files.
The process of shooting film truthfully makes you see light better and overall makes you a better photographer because you work so much harder on getting the photo technically and artistically better.
To be fair though, Tri-X was designed to be forgiving, and there’s more on that in a bit.
Metering for the Scene
Before I go on: have a creative vision. This should be obvious, but sometimes it isn’t. Know what you want in the scene and how you want the image to look.
When working in the studio with Kodak Tri-X 400, I strongly suggest working with manual lighting/strobes. The reason for this is because TTL flashes tend to simply read your aperture and shutter speed and meter based on what it thinks you want. Metering manually is otherwise telling the camera, film, and lights exactly what you want.
To begin, I really suggest working with and investing in a handheld light meter of some sort that has both ambient lighting readouts and flash exposure readouts. A handheld light meter lets you do spot meter readings in your scene. You typically want to manually spot meter individual areas of your scene and take careful notes on these. You’ll find out how dark the darkest areas are, bright the brightest areas are, and the mid tones. When you look at and take note of all these, you can figure out a number of things. First off:
- ISO: controls the overall sensitivity of the film.
- Aperture: controls the depth of field and the flash exposure
- Flash output: always fires at a consistent setting if you manually set it
- Shutter speed: controls how much ambient light is in the scene and affects it. The faster the shutter speed, the less ambient light is seen in the frame.
When you spot meter your entire scene, you can figure out what to do based on your particular creative vision. Want more light? Maybe slow the shutter speed down. Want the flash output to be the only real lighting in the scene? Well, that’s simple: just raise the shutter to the fastest shutter speed that allows flash sync.
Then there’s a matter of using your light meter’s flash reading abilities. Generally speaking, flash in this case will also be specifically tied to details in some ways. Want brighter flash? Then know that you’ll be blowing out details that can only really be recovered by burning and dodging if you’re making a print. Want more details? Then maybe underexpose your aperture as it pertains to the flash output by 1/3rd of a stop.
Yes, I know I said that Kodak Tri-X is a forgiving film, but it’s at its most forgiving when working with it in the darkroom vs scans to DNG files.
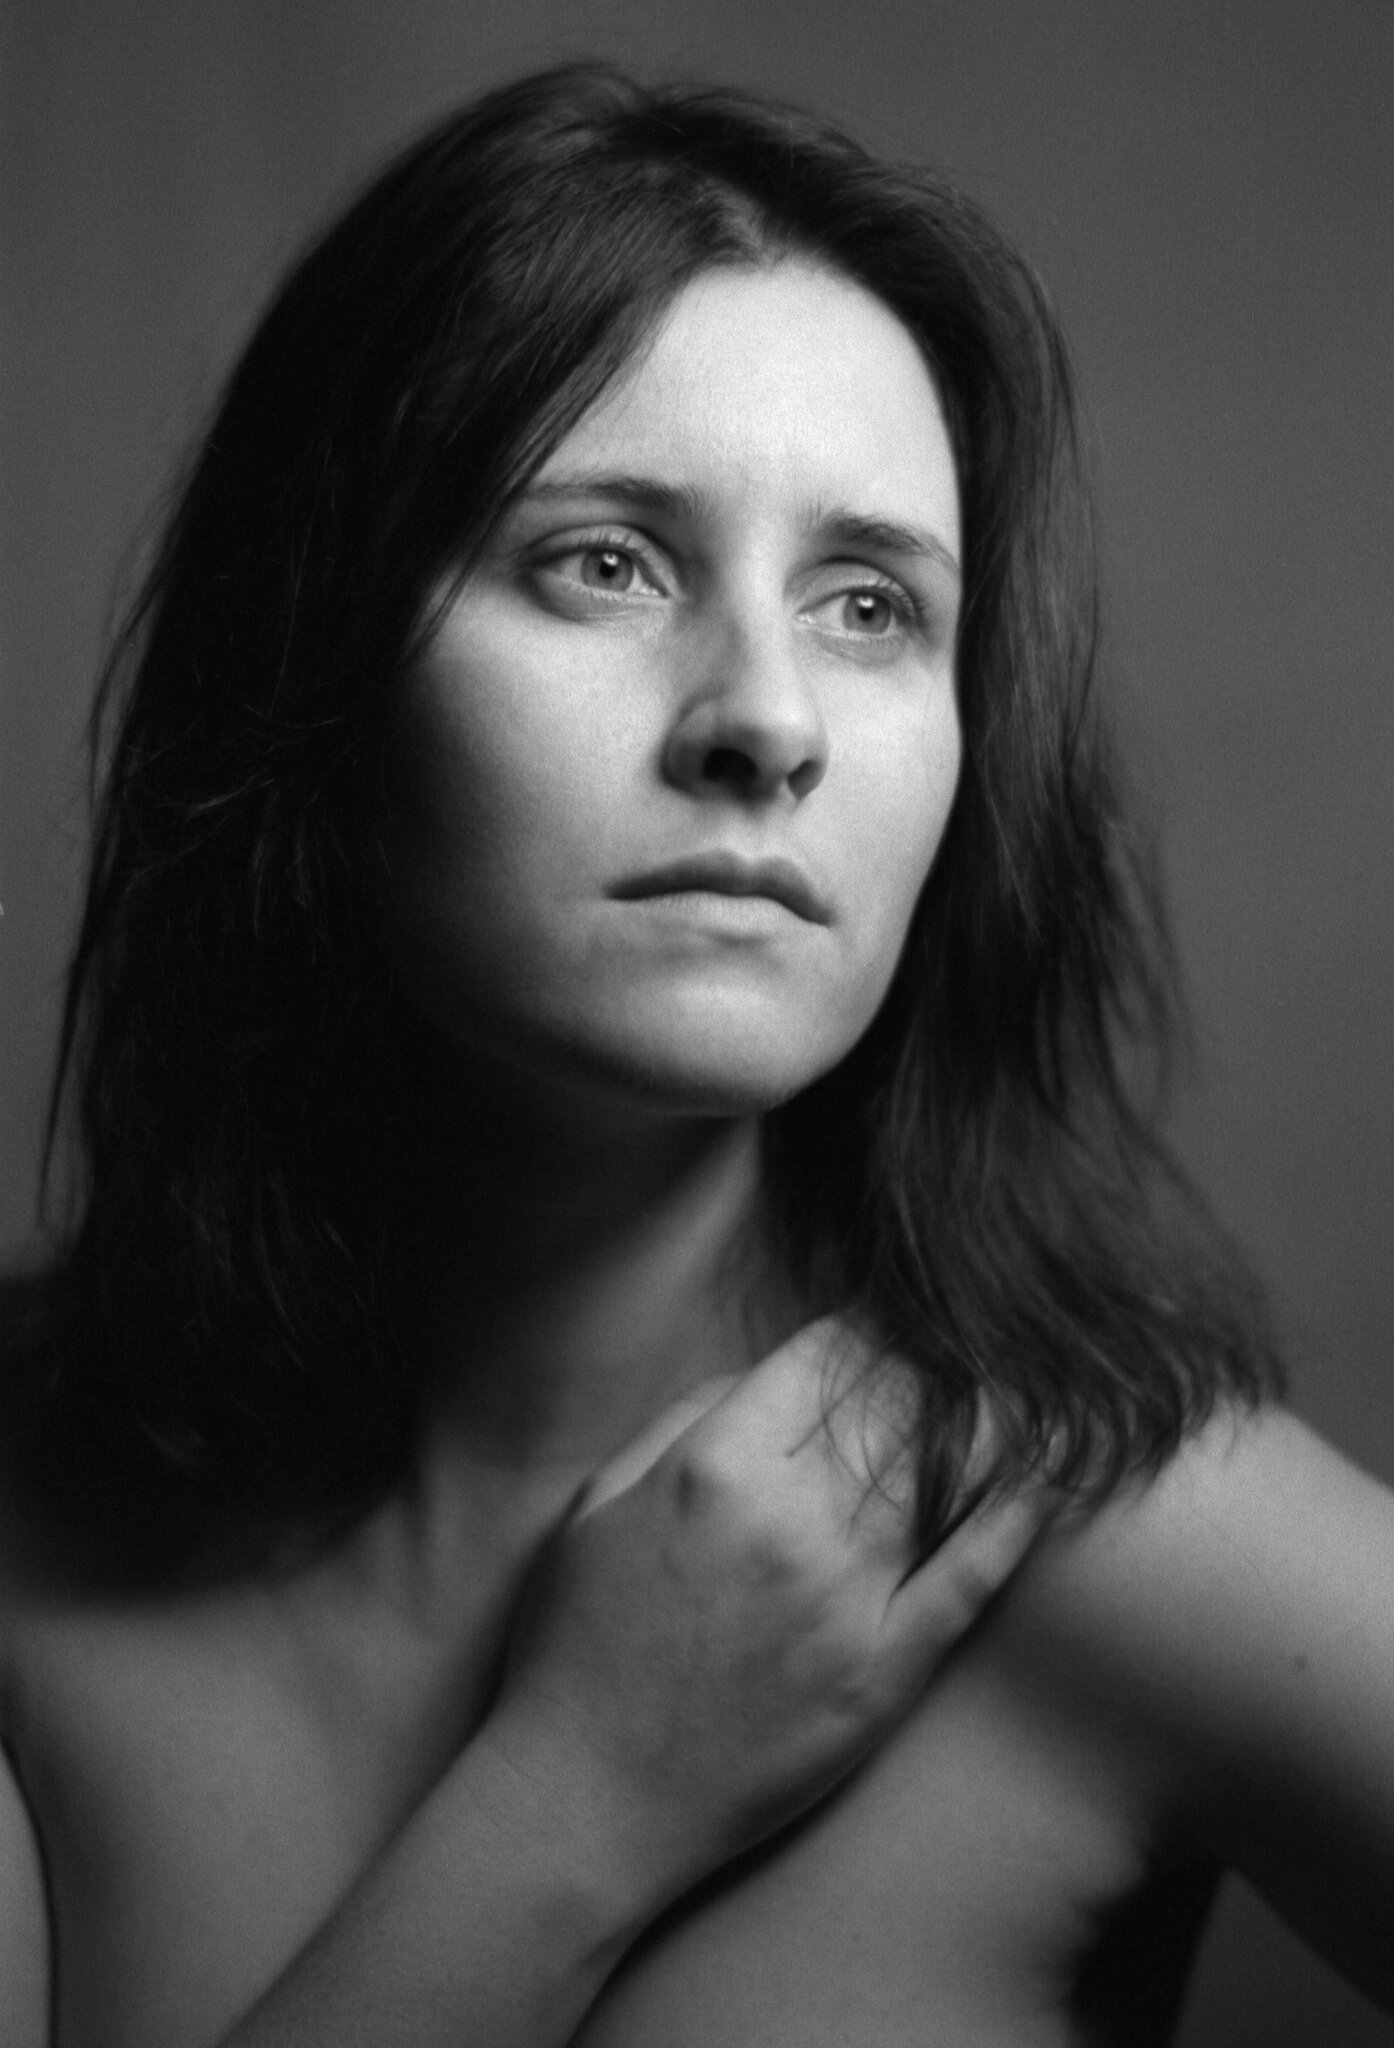
Contrast: Based On the Lighting Type, Light Modifiers and Backgrounds
Color film photographers often like shooting flat: meaning they try to get as much details in the scene as they can to deliver a low contrast look. That’s fine, but if you don’t want one, then I recommend that you start going to extremes: which basically means that the Aperture set just balanced to the flash and fastest shutter speed possible to kill the ambient light.
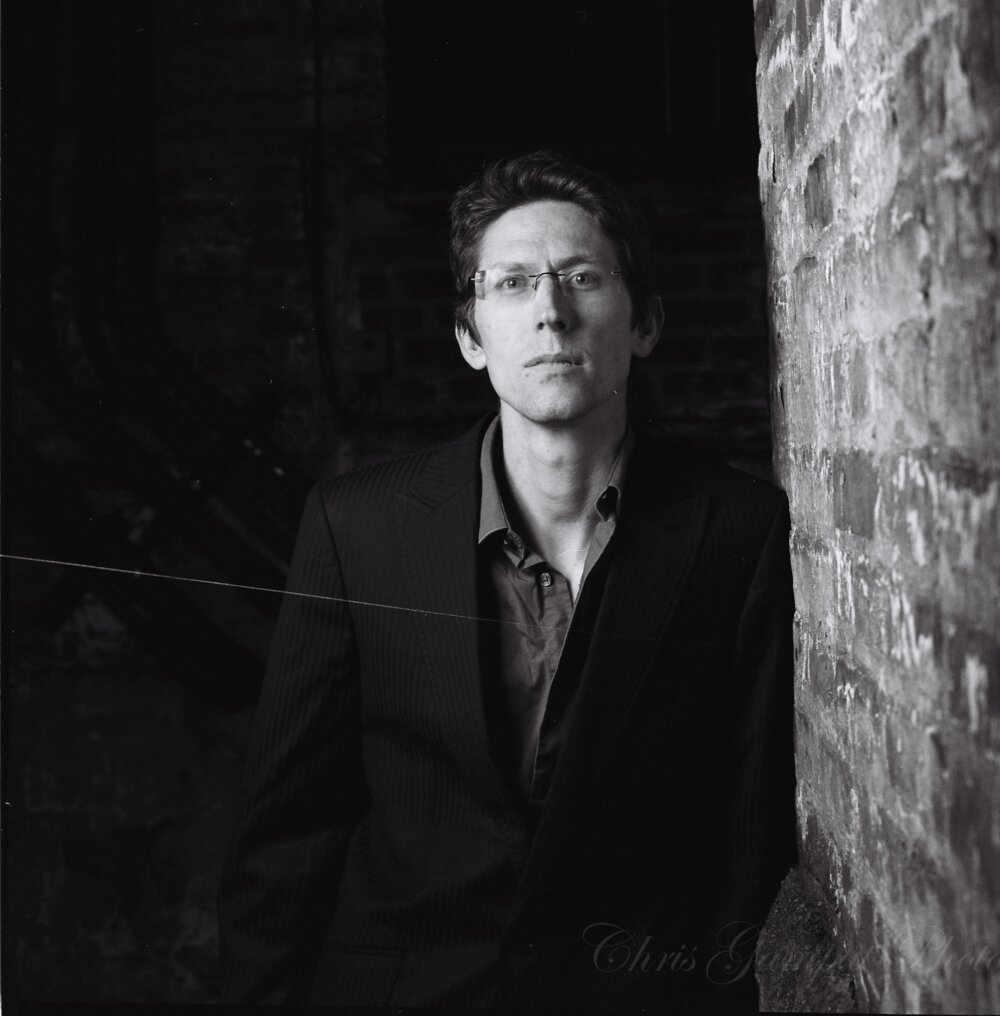
Bronica ETRS, 75mm f2.8, Kodak Tri-X 400. Flash placed off camera left.
When working in a studio, creating contrast in a scene has to do with a number of things. At this point, you may be asking me about using constant lights. And truthfully, I’d never recommend them because they’re always so incredibly weak and underpowered vs a flash for the money. They may give you a more cinematic look, but again, they tend to be expensive unless you want to push your film to ISO 1600 or so.
So when working with studio strobes, you should keep in mind the general rule of thumb: the closer and larger the light modifier is to your subject, the softer it will be in relation to the size. How does that relate to Tri-X? It can mean a more flattering shadow or a less flattering one. Then considering how high contrast the film already is, it could mean absolutely no details in the shadows or only some depending on how you develop it.
To create less contrast overall, work with brighter backgrounds. This could mean even adding multiple lights to give sort of fill in areas.
Pushed or Pulled: What’s the Potential
Now to get to the bigger part of all this: pushing and pulling the film. When working in a studio, it’s pretty simple to take your film into the darkroom and push or pull the film when creating a print. Of course, you can also simply just burn and dodge selective areas of the film but if you plan on doing that, then perhaps shoot more low contrast unless you want to overall embrace the grainy look that you get. Typically when you work with pushing or pulling film, you’re setting your camera and the overall exposure to a different ISO altogether: in the studio I’d typically recommend either exposing for 400 ISO or 100 ISO. In that case, you’d pull the entire image two stops in the development process. Then in the print making process, you’d dodge back in any sort of details in the shadows that you’d like.
As I’ve stated many times here, Tri-X does a great job with getting back details in the shadows. But you can also mostly avoid that by just letting more ambient light in, using a reflector and by taking very, very careful attention to lighting details when looking at a scene. It requires you to be aware of the obvious.