
The Practical Guide on How to Use Kodak Tri-X 400 for Street Photography
by
Kodak Tri-x 400 has for years been very popular with street photographers. In fact, some street photographers commit to only using black and white films like Tri-X although others have no problems with color images these days. Either way, know this: it’s all about aesthetics. If you personally do like the look of Kodak Tri-x 400, then I’ll be the first person to encourage you to go out there and shoot it. In fact, shoot lots of it. You’re bound to love it. Others on the other hand are okay with working with digital photos and applying some sort of Tri-X preset. However, you’re not going to get the same look or even the same experience as shooting with Tri-X film. So here’s what you need to know to shoot Kodak Tri-x for street photography.
If you’re interested in more of the historical and traditional parts of it, be sure to check out our other article here.
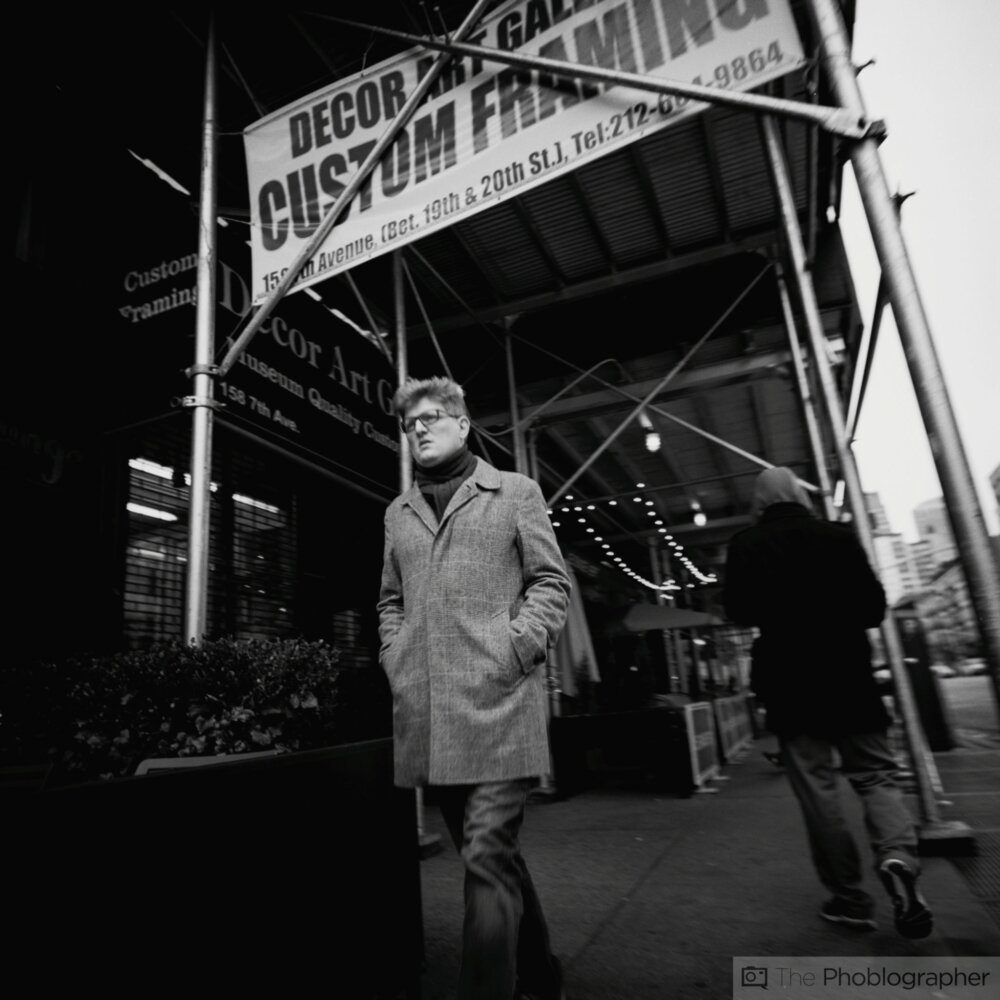
A Film for Photographing People and Urban Geometry
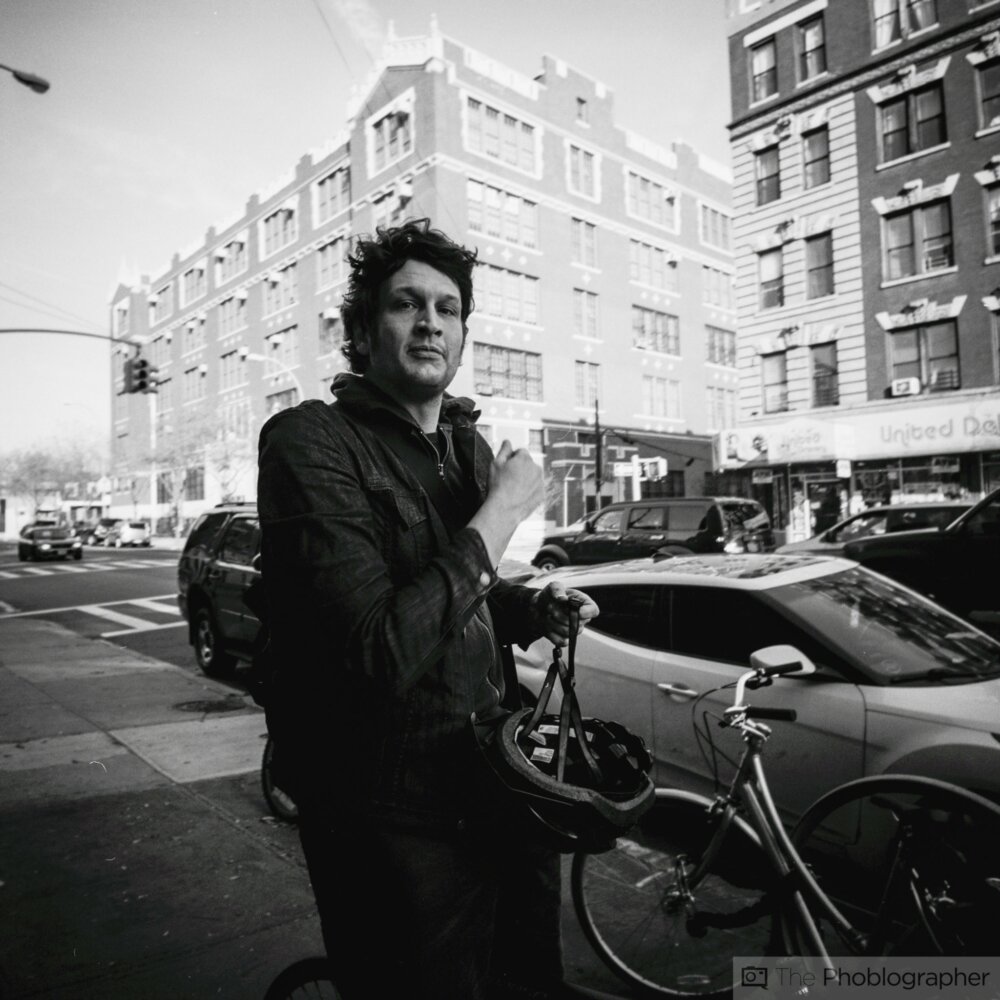
Kodak Tri-x has evolved over the years and in order to understand how Kodak Tri-x 400 is wonderful for street photography, we first need to understand Kodak Tri-X. The film was originally developed and invented for photojournalism. Seeing how people loved 35mm film and there was a need to use the film to tell stories such as the tragedies that happened in many of the wars, Kodak developed the film to be forgiving yet versatile. It brought with it its token grain, grit and feel. Depending on which developer you use, the film can take on a number of looks. Photographers these days tend to embrace the look of the film when being used with Rodinal due to the more high contrast and grainy look that they get.
This high contrast that the film is capable of delivering is valued by photographers who want to put an emphasis on specific parts of the images in the same way that digital photographers tend to use black levels. Deeper blacks in a scene make the photo appear sharper by tricking the brain into focusing on other parts and tones in the photo.
by
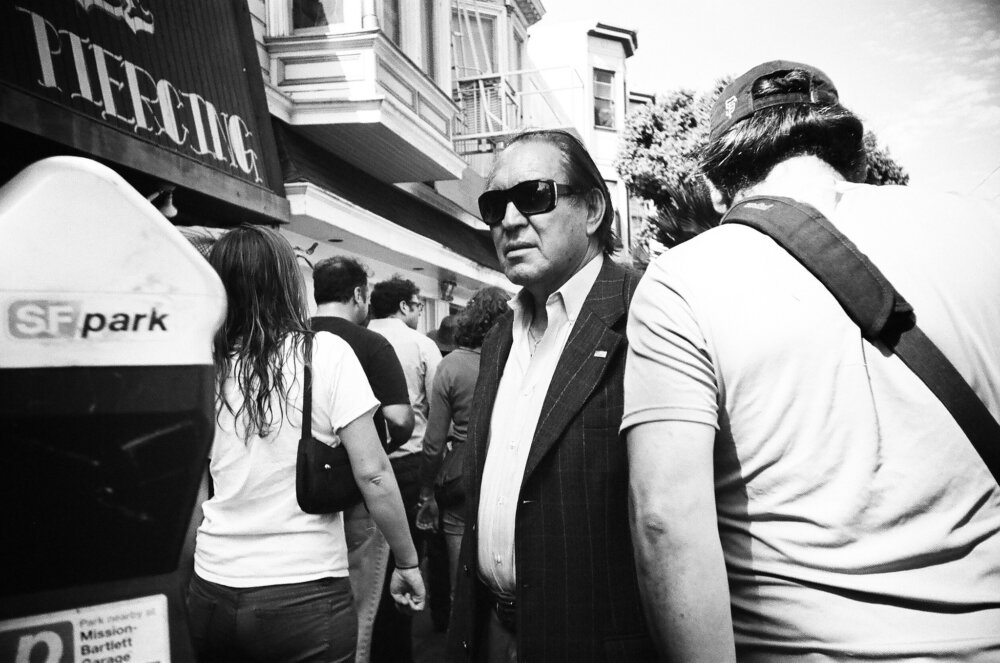
Due to the ease of use of the film, photographers have mostly shot with it and tried to focus instead just on what they’re photographing–fully knowing that they’ll be able to fix it in the darkroom by pushing or pulling, burning or dodging, or even just using a high end scanner that is capable of scanning DNG files.
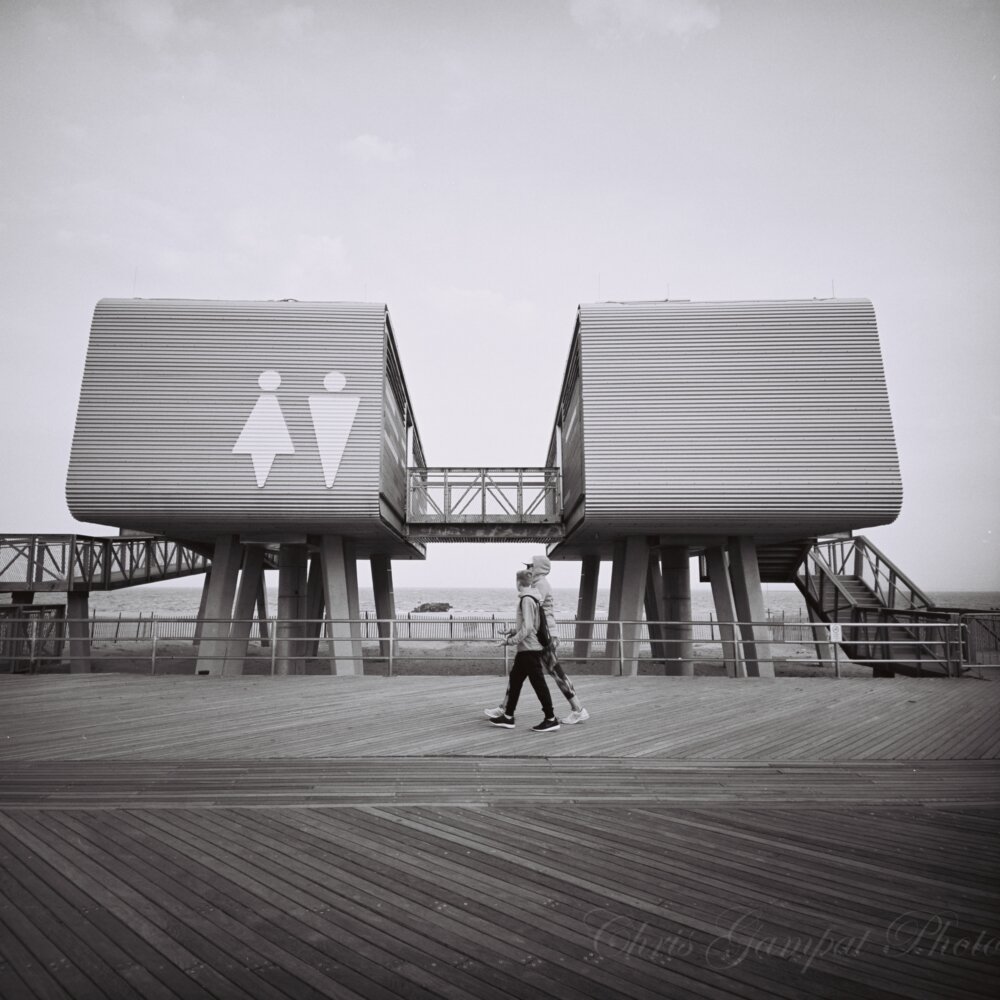
F8 and Be There (Designed for Photojournalism)
The idea of “F8 and be there” has been one that has stayed not only with photojournalism but also with street photography since a little after its inception. Kodak Tri-x lends itself well to this belief because of how versatile it is. This is a film really designed for the photographer that will commit to shooting with it and creating a print that yields them more details in the shadows when they’ve underexposed the scene they were really trying to capture. If you’re a photographer that wants to shoot Tri-X and then get your images back only to scan the photos, you’re not getting the most from the film.
But when shooting Kodak Tri-X, f8 at ISO 400 can mean that you get a lot of really great images. When you’re in bright sunlight, you may want to switch to f16 and 1/500th to ensure that you get all the details in the highlights. But as you walk about your everyday scenes otherwise, you’ll find that shooting at f8 during the day time and any myriad of shutter speeds will help you get great photos.
by
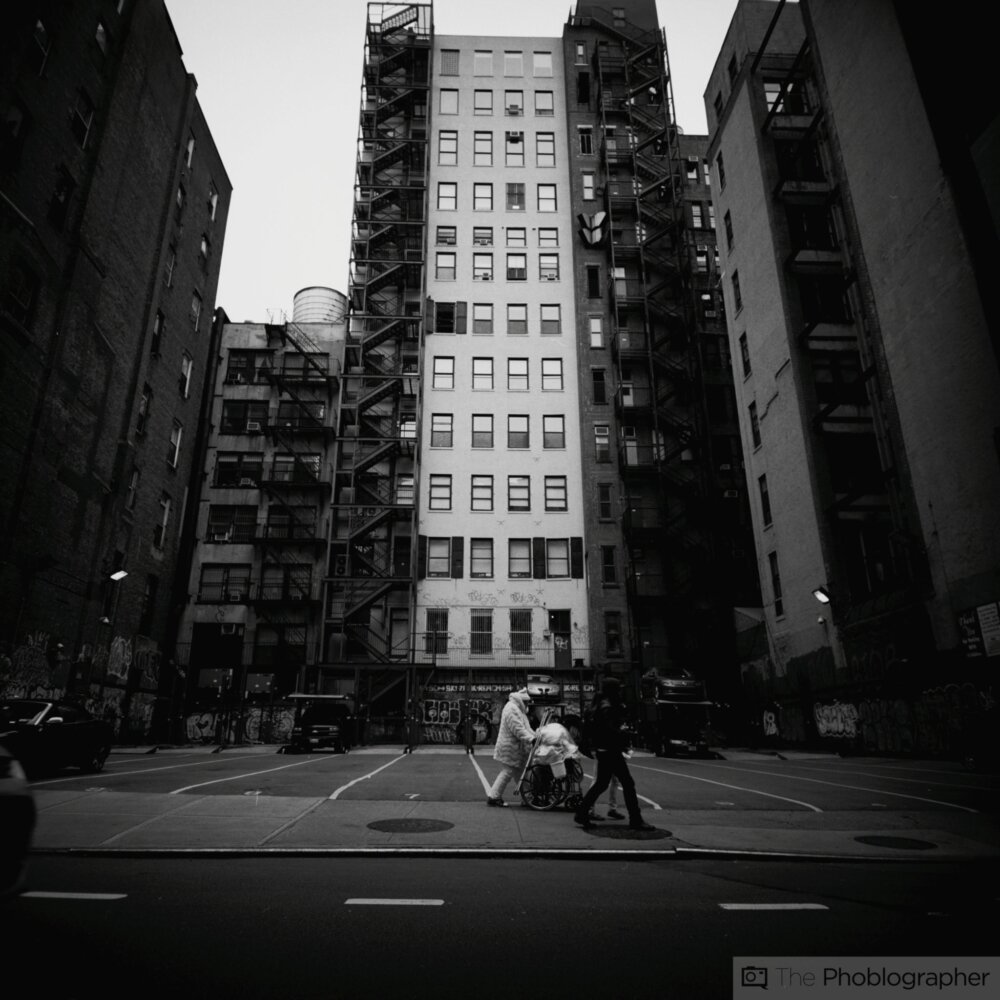
What I was just describing above has to do with the Sunny 16 rule, which is easy enough to find in most places on the web but basically dictates that when shooting a scene with lots of bright sunlight and little to no shadows, you can expose at f16, your ISO and your shutter speed can be the reciprocal of that. So F16 with ISO 100 film will give you a shutter speed of 1/100th.
Combine this with zone focusing. At f8 and with 35mm film at least, you’re going to get quite a bit of a scene in focus. The further away you focus your lens, the more will be sharply and clearly visible in the final photo. But if you’re shooting street photography with something like a 35mm or 50mm lens, then it’s a good idea to focus anywhere from four feet to six feet away at f8 and just shoot.
To at least start experimenting, I recommend trying this with a digital camera set to high contrast black and white. But also keep in mind that you may not need to.
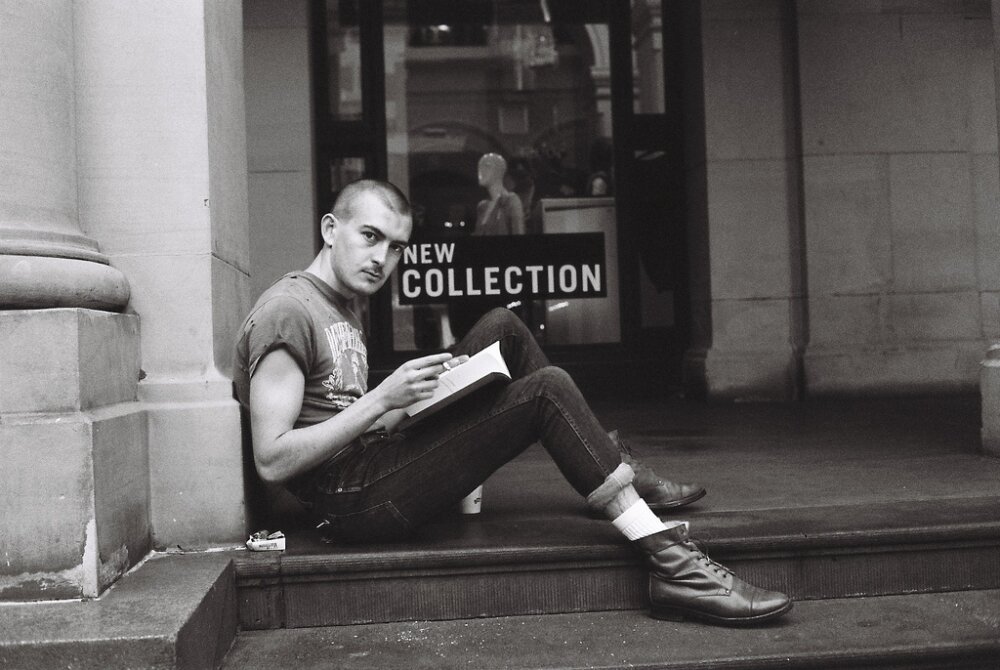
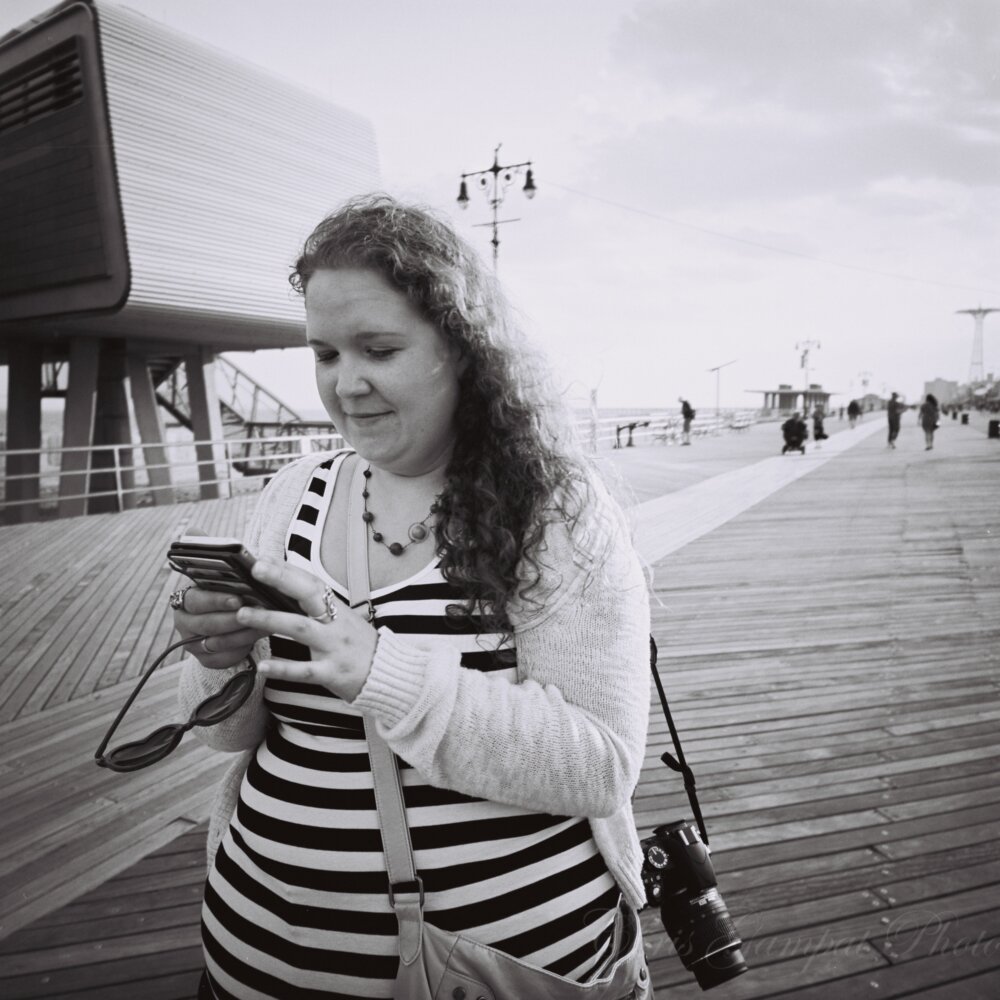
Aperture Priority is Your Friend
Expanding on what was said earlier on both the versatility of the film and using f8 when going around shooting scenes in life, I also recommend using Aperture priority to make it even easier to work with overall. Kodak Tri-x, again, is pretty damn versatile of a film. When you’re just using Aperture Priority mode on your camera, you can focus more on just finding and shooting better scenes. Combine that with both zone focusing and the F8 philosophy and you’re most likely bound to never miss a shot.
Seriously, it’s that simple. Of course, this idea caters best to shooting at ISO 400 and above.
35mm: Much Easier than 120
Kodak Tri-x 400 comes in both 35mm and 120 emulsion sizes. Generally speaking, 35mm is much easier to work with because it’s a small format. As I’ve mentioned in previous articles, that format was designed for capturing everyday life. There are cameras out there that will make using the film in 120 easier though: two of the best are the Lomography LCA 120 and the Fujifilm GW690 III rangefinder. Of course, there is also the Mamiya 7 II. But even so, because of the larger focusing area, it’s tougher to get a moving subject perfectly in focus. Indeed, when it comes to street photography 35mm is a great place to start no matter what your experience levels. When you’re comfortable with the film, you can try 120 and have a higher success rate.
How to Rate Kodak Tri-X for Street Photography
The last thing that we’re going to quickly cover is rating the film for everyday street photography use. In truth, that really depends on your camera. If your film camera doesn’t go beyond 1/1000th of a second’s shutter speed, then I recommend shooting at a lower ISO if possible. For example, the Hexar AF maxes out at 1/250th. So if you’re shooting with Kodak Tri-x at the beach or in a brightly lit area then you’ll surely be at ISO 400, 1/250th and F22 most of the time. That is of course unless you rate the film for ISO 100. Then you’ll be at f16, 1/100th and ISO 100. In general, I really commend that you be able to use your camera’s highest shutter speed and max out at f16. You can go to f22 if you wish, but why bother when using the the 35mm format?
Happy shooting!